Archive for May, 2016

More Band Pages

It’s been a busy couple of weeks, but in between all the end of year events and a 4 hour long senior awards ceremony, I’ve tried to take advantage of every spare minute.  Here are my latest finished pages.

2016-05-24_10-02-11

2016-05-24_10-03-24

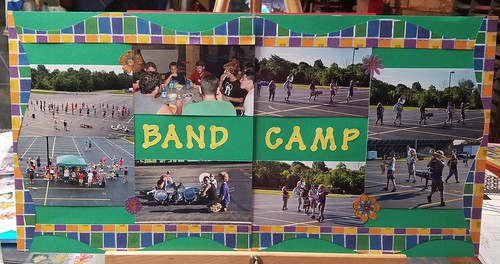
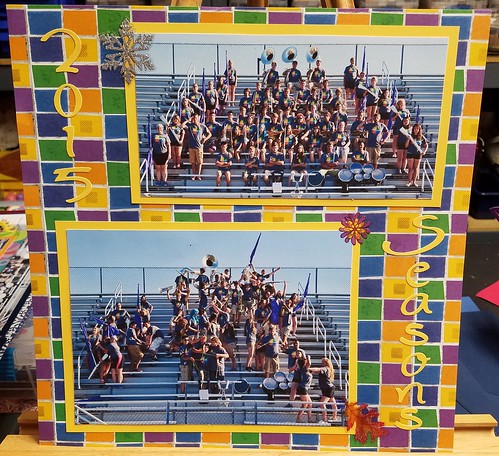
The band season is just not complete without a record of the hard work and craziness that goes on at band camp.

2016-05-24_10-02-29

2016-05-24_10-04-33

In these two layouts, I experimented with cutting out the subjects of some of the photos in order to showcase them.  I really like this effect.

2016-05-24_10-04-43

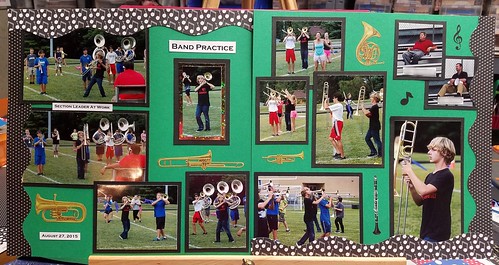
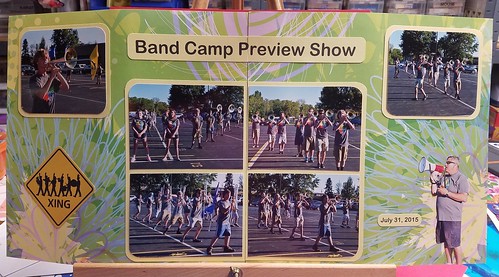
I was at practice one day with a new camera so of course I had to try it out.  I’m glad I did.  It’s hard to tell here, but I caught so many good expressions of my favorite trombone player hard at work and enjoying himself.

2016-05-24_10-04-14

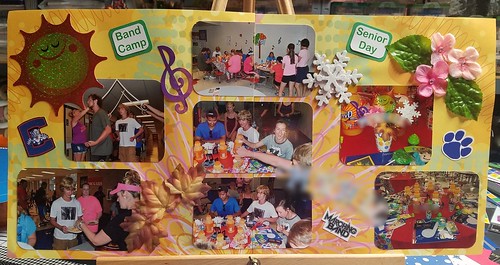
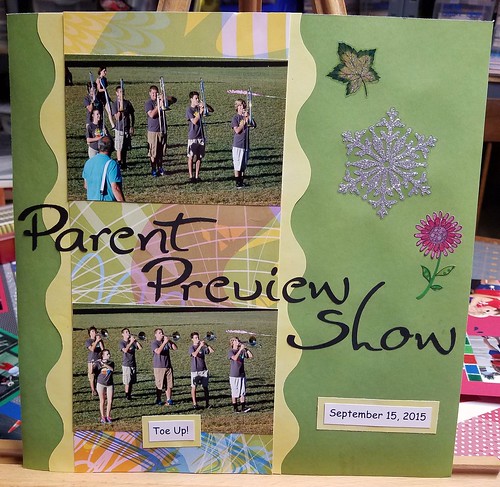
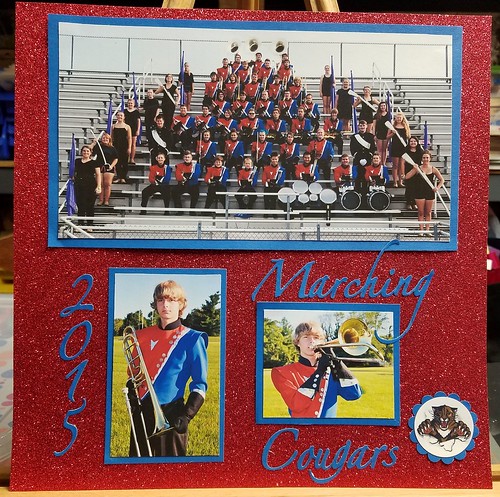
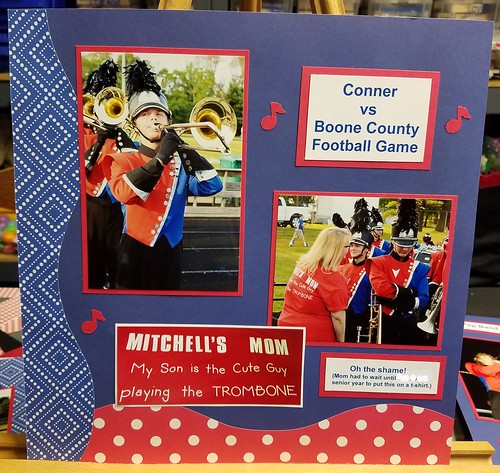
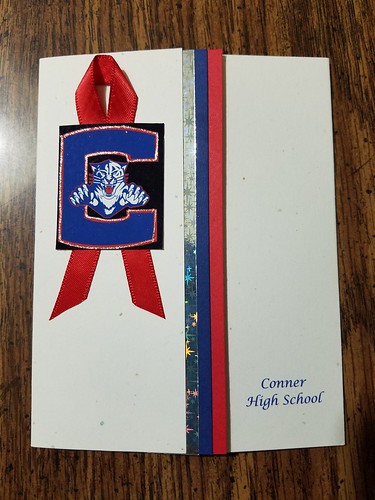
This one turned out to be my favorite of this bunch.  I love how the colors work and bling is always fun too.

2016-05-24_10-04-01

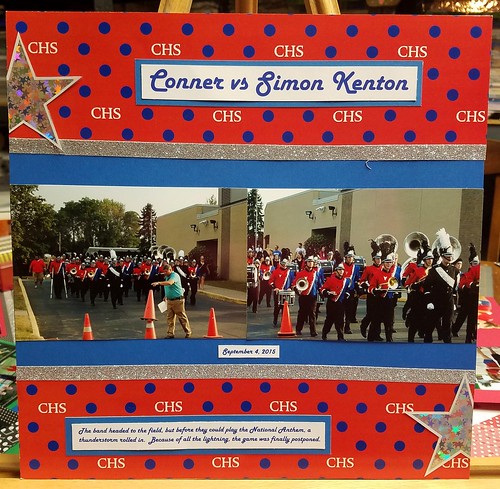
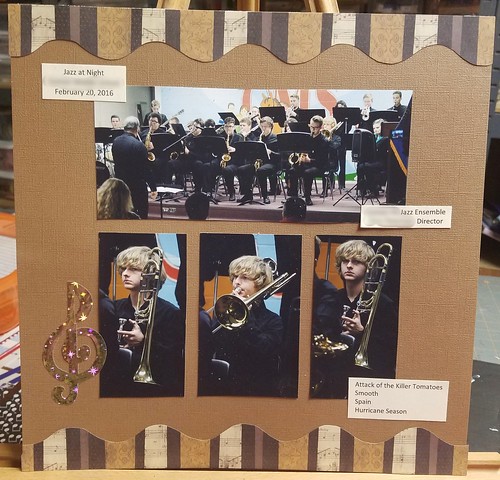
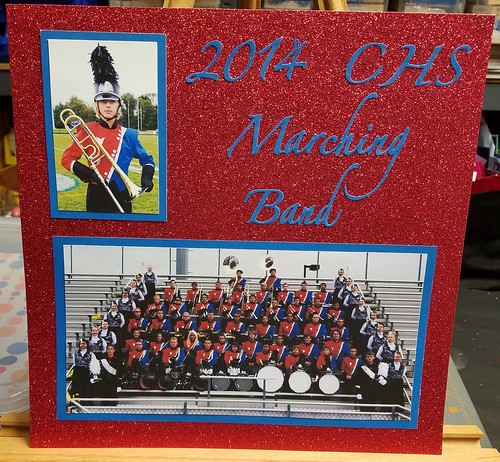
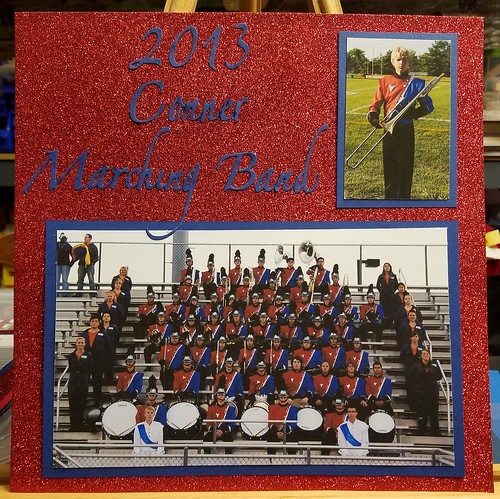
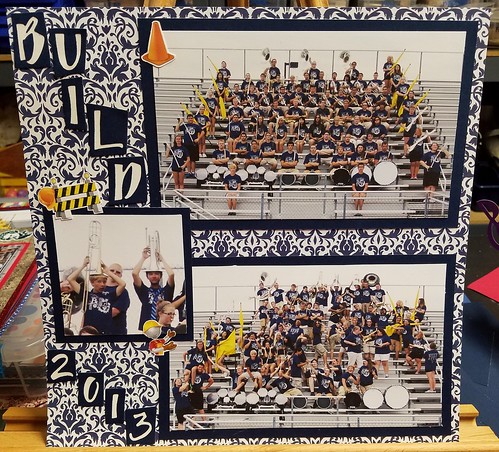
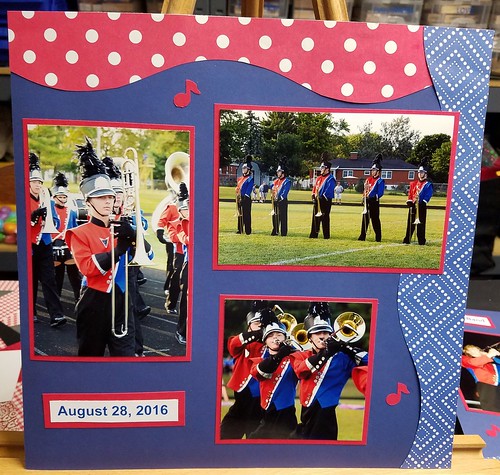
I’m trying to step out of my comfort zone of always matting photos individually.

2016-05-24_10-04-24

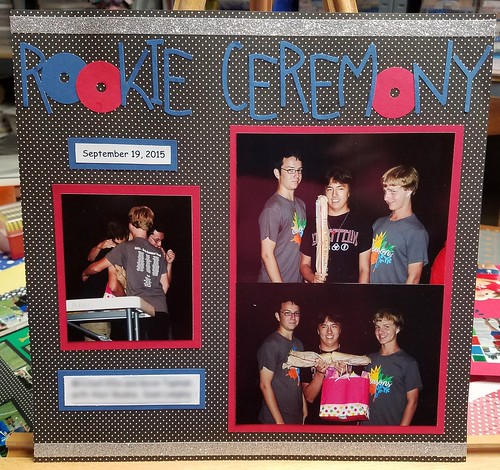
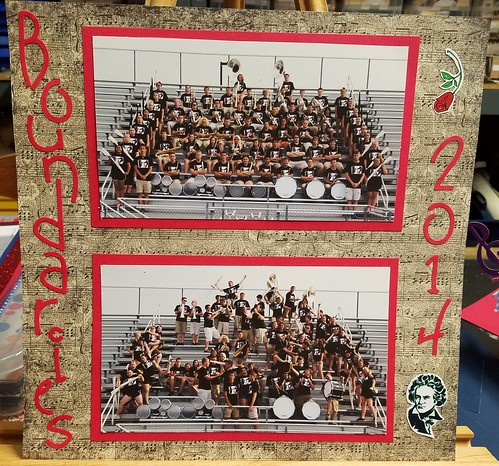
This was another fun page.  Each year in marching band, members receive washers painted in their school colors to commemorate each year they have been a marcher.  I recreated the washers for the letter O in the title.

2016-05-24_10-07-19

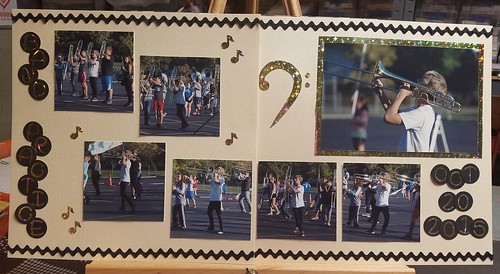
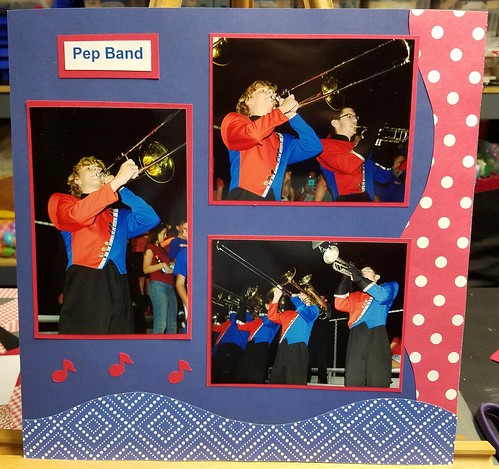
Yet another day of fun with my new camera.  I was thrilled with how the enlarged photo came out show I showcased it with a gold glittery mat.  I also included a bass clef — something that is a point of contention for my low brass son.  He is always complaining about how everything is always treble clefs.

2016-05-24_10-02-42

2016-05-24_10-03-11

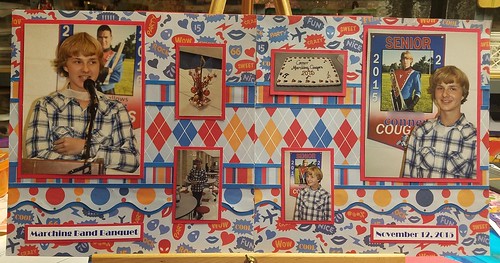
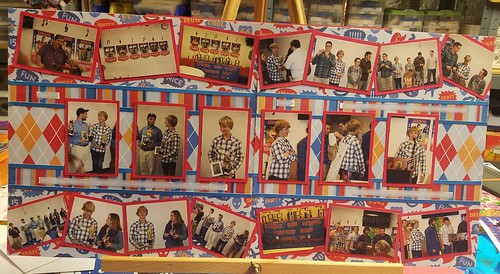
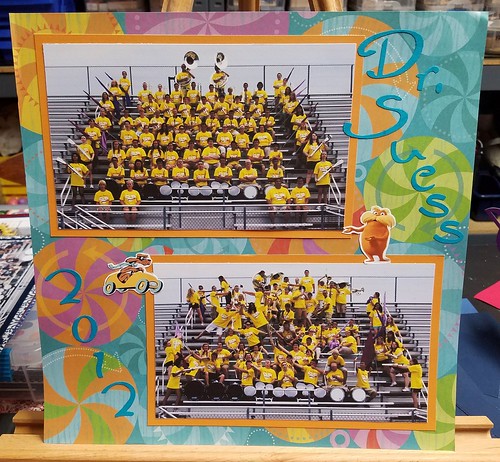
I tried to capture the fun of the marching band banquet with these crazy coordinating papers.  I also had a lot of photos to include so the planned two page layout quickly turned into four.

2016-05-24_10-07-09

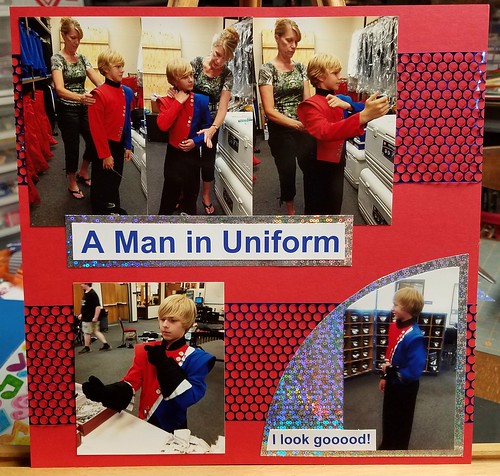
Oops!  There’s that pesky treble clef.  Given my son’s expression, I didn’t feel bad using it on this page.

Audio

Artwork for My Son

IMG_0597

Having been bitten by the painting bug, I knew I had to try my hand at it again. Of course I needed an easel of my very own.

When we redid my son’s room in his favorite colors of grey, red, and black, we talked about doing some custom artwork for his walls. I’d acquired a nice sized canvas for a steal at a thrift shop but I’m sad to say, it sat untouched for quite sometime as we weren’t quite sure what to do with it. More recently, I found another. It was huge. At least 4 foot by 4 foot. The original plan was to paint over it but after a few days of looking at it, my son determined he really liked the bamboo and wondered if we could just redo the background. The original was done in tans and blues and while I liked that idea I wasn’t sure we could make it look right by just painting around the bamboo. Plus, there was some damage to the edges of painting that needed sprucing up.

IMG_0596

I gessoed over the original in order to create a base coat. I had the foresight to trace over the bamboo onto tissue paper before starting in on painting. I’m glad I did because once I painted the background, any guidelines I might have had were gone.

IMG_0599

Using techniques I learned from the painting class I took with my daughter in March, I painted the background blending white, grey, and black paints to create a number of shades.

IMG_0602

Then it was time to add some color.

IMG_0604

I blended the red with black to create the darker shades. This technique of adding random squares of the various colors is so simple and so much fun.

IMG_0618

Then it was time to use the patterns I had traced earlier to add back the bamboo. My original plan was to do them off center much like the original, but then I got another idea.

IMG_0684

My son approved and so I split the bamboo to create more of a curtain type effect and added a small sailboat. Once again, Googling images saves the day and provided me with the perfect pattern.

The second, smaller painting was done similarly to coordinate.

IMG_0601

IMG_0603

IMG_0605

IMG_0617

IMAG3061

IMG_0683

The inspiration for the artwork came from yet another Google image search.

“Mom’s talented,” was my son’s response when he saw the completed artwork. Coming from a 16 year old boy, that’s a pretty hearty endorsement!

They really do look nice on his walls and give his room the finished look it had been missing.

I’m no Rembrandt, but I have discovered a talent I didn’t know I had. I’m also finding painting to be so relaxing and enjoyable. Canvases are relatively inexpensive and easy to come by. Now I just need to find more walls to hang them on!

Making Progress

As my son’s senior year began, the plan was to do my best to catch up on all his pages.  Then reality set in and I determined it best to concentrate on his high school years.  Then that got narrowed down to just band.  My original intent was to do a single album for all four years in band.

Then I started sifting through the band photos.

As the official band photographers, over the four years my husband and I took thousands of photos.  I am not exaggerating.  While it was easy to eliminate the photos he wasn’t in, I was still left with hundreds of photos of my favorite trombone player.

You would think that all band events pretty much look the same.  At least that is what I was thinking when I started on the process.  Not so.  After two rounds of eliminations, I still ended up printing over 300 photos.  For senior year alone.

I resigned myself to the fact that there mostly likely would be an album for each year.  Band was a huge part of his life, and of ours.  He wasn’t interested in school dances and social events like his sister was, so this was really his thing.  An album a year is quite all right.

2016-05-16_12-11-12

2016-05-16_12-11-03

2016-05-16_12-10-33

2016-05-16_12-10-43

I started with the easy stuff – the formal portraits.  I’d happened upon some fabulous red glittered card stock while garage saling last summer.  It was perfect for showcasing these photos.  The pictures really do not do these pages justice.  I was so pleased with how they turned out.

2016-05-16_12-09-44

2016-05-16_12-10-21

2016-05-16_12-10-11

2016-05-16_12-09-55

Next, I moved on to the band camp portraits featuring each year’s show theme.  Much of the coordinating embellishments were a result of Google searches for royalty free images.

2016-05-16_12-05-36

Before putting my concentration on the senior year events, I had to be sure I completed the page of my son’s initial uniform fitting. As a freshman he was concerned about fitting in and not coming off as some little kid. He was embarrassed and annoyed with his Paparazzi Parents who dared to show up for this occasion and take pictures. It was still a great moment and you can tell by the expression on his face how pleased and proud he was of himself in his uniform.

2016-05-16_12-11-57

2016-05-16_12-11-48

2016-05-16_12-11-39

2016-05-16_12-11-29

On to the first football game of the 2015 season. Having been sensitive to my son’s embarrassment of having parents the previous three years, I felt it was way past time for me to sport a t-shirt with a sentiment I fell in love with early on. The “Shame” photo was staged by my husband and I love how my son is attempting to look disgusted yet is smirking the entire time. Senior year was finally when he began to publicly acknowledge us again and also cooperate in photos.

This layout was only supposed to be two pages, but I miscalculated with the number of photos. I wonder how many more I have done that with? There are so many good photos this year. It’s actually surprising that I ended up with only 300.

Stay tuned for more updates!

Somebody’s Graduating

We are at 12 days and counting!  My son will be graduating high school on May 28, 2016.

2016-05-16_12-13-58

Not terribly excited about the rather bland announcements we could purchase through the school, I opted to make our own announcements.

If they look somewhat familiar to you, I will refer you to a previous posting:

https://craftingwithcapri.wordpress.com/2013/04/02/announcing/

I originally created this trifold design for my daughter’s college graduation.  I still had the computer files so it didn’t take a lot of work to convert them for my son.

I hope he is as pleased with these today as he was with his sister’s 3 years ago!

What Happens When We Don’t Have Internet

2016-05-11_09-30-07

A very nearby lightning strike took out our modem yesterday.  I was at work and my son had taken a break from gaming when it happened.  When he returned to his computer, he no longer had an internet connection.

He called me at work and I directed him to the information he needed to call our ISP.  They verified there was no outage and then walked him through some preliminary trouble-shooting without any success in restoring the connection.  The final verdict?  The modem was showing as offline.

When I arrived home, I found him in the living room watching a DVD and crafting!  He had received these adorable Mario & Luigi Paper Jam paper craft models at a recent anime convention he attended.

A quick assessment of the modem showed that only the power light would come on and that I was unable to connect to it through our network.  My son confirmed that while he was away from his computer there had been some tremendous thunder and he had heard a crack that felt like it was very close to our house.  Later in the evening we learned that our neighbor’s house had suffered considerably more damage than just a blown modem.  So yes indeed, lightning had struck very nearby.

My son had assembled the first model and actually took the second one with him as he accompanied me on the trip to Office Depot to replace the modem.  My daughter’s boyfriend directed us to the model we needed and I had it installed and activated in no time.  Our internet was back up!

I shared this joyous news with my gamer son, who continued to assemble the rest of his models.  I guess once the craft bug bites, it’s hard to fight it.

These little guys are adorable!  I took a picture of them so I could blog about them.  I soon found out that my son had done the same thing and posted his picture to Facebook.  The caption?  “What happens when I don’t have internet.”

It was fun to have him back crafting.  Even for just a little bit.

You can assemble your own Mario & Luigi Paper Jam models too!  Download the full color PDF document at http://marioandluigipaperjam.nintendo.com/downloads/.  There is also a download for a Mario paper airplane and a Mario throwing star at this same address.